ThermaFrost Window Tint For Conservatory Roofs

ThermaFrost Window Tint For Conservatory Roofs
Prevent Solar Glare with ThermaFrost
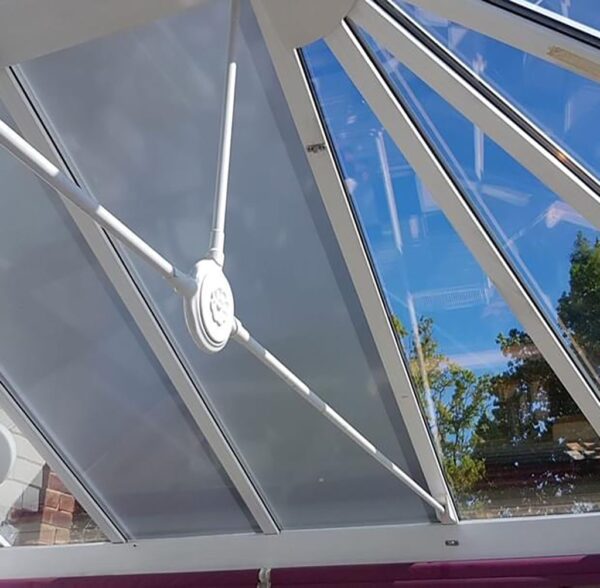
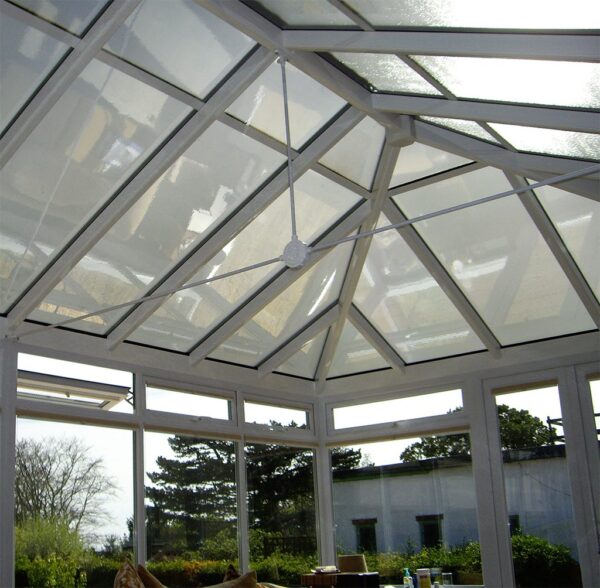
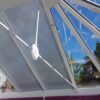
The ThermaFrost Window Tint for Conservatory Roofs is a product that is applied to the internal of the Conservatory Roof.
This tinted window film is commonly used prior to installing our Conservatory Insulation Kit.
Why install the ThermaFost Window Tint for Conservatory Roofs?
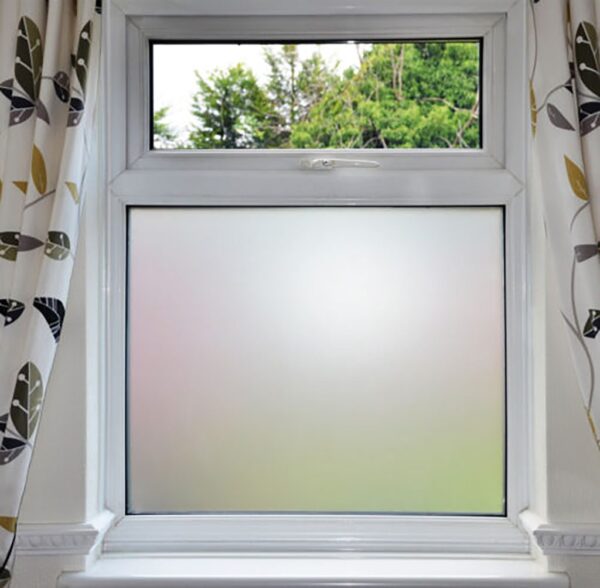
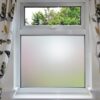
ThermaFrost Window Tint creates an opaque finish to the roof which is cost effective, lightweight and easy to install. Stand alone, the benefit of installing Window Tint is that it reduces 30% of Solar Glare, which effectively stops the suns glare from shining off the Multifoil Insulation.
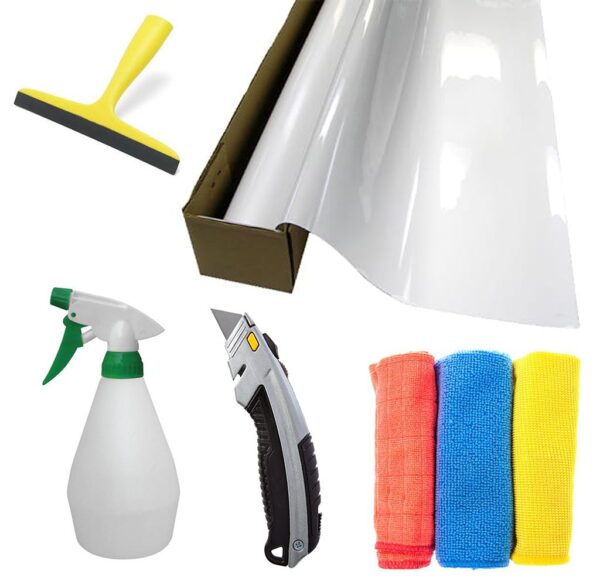
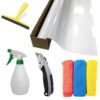
Each ThermaFrost Window Tint Kit is supplied with everything you need to install it.
ThermaFrost Window Tint For Conservatory Roofs Includes;
- ThermaFrost – 760mm x 30m (22.8m²)
- Rubber Squeegee
- Spray Bottle
- Cutting Knife
- 3 x Microfibre Cloths
- Free Next Day Delivery To UK Mainland (When ordered before 2pm)
The ThermaFrost Window Tint Kit also is beneficial as it reduces the amount of solar energy glaring on to the furnishings – which can cause fading. Although the ThermaFrost Window Tint does reduce heat transfer, so therefore will help to reflect away excess sun and heat. If you would like to create an ambient temperature all year round and to have a fully usable room – we would recommend fully insulating your conservatory roof after installing the tint.
To Purchase Our High Performing Multifoil Insulation Kits for your Conservatory Roof Click Here!
Ecohome-Insulation also have How-To Videos and Guides on the link above. These will show you / speak you through the process to show you , which will show you how to effectively insulate your conservatory for use all year round!
Prefer To Order By Phone? Request a ‘Call Me Back Here’ and one of our team members will call you within 1 hour!
Ecohome Insulation recommend installing the ThermaFrost Window Tint on flat, clean glass. We do not recommend installing ThermaFrost on rough cast glass surfaces or when the glass is freezing cold.
We recommend to read the fixing instructions in full before proceeding with the installation of ThermaFrost – Window Tint for Conservatories.
If you have any queries at all, please do not hesitate to get in touch via phone or via our enquiry form.
FREE GIFT
Spend £500 + VAT and Choose a FREE GIFT at the checkout!
Free Gifts Include: Thermaseal Foil Joining Tape, Heavy Duty Staple Gun Kit, Multifoil Insulation Scissors or Thermaseal Double Sided Tape.
How To Insulate Your Conservatory Roof
-
Installing ThermaFrost (Glass Only)
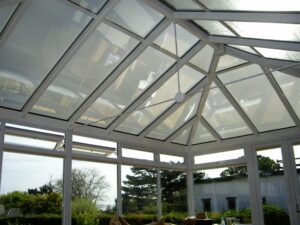
If the Conservatory has a glass roof, we recommend the use of our ThermaFrost Window Tint. This material will create a white opaque finish which will add privacy and also reduce sun glare by around 30% To view full installation details of this product, please visit the data sheet on the product page. Please note this cannot be used on Polycarbonate Conservatory Roofs.
-
Installing Timber Battens
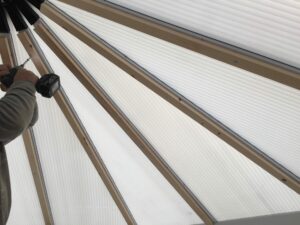
Install 25mm wooden battens onto the existing uPVC and Aluminium framework. We recommend the use of our FastFix 50mm Self Tapping Screws. We would recommend to check the depth of your roof rafters as the screws are only designed to go part way through the aluminium frame.
-
Stapling The Multifoil To Battens

Staple either EcoQuilt Expert or YBS SuperQuilt to the underside of the wooden battens. This will have then created an air cavity between the multifoil and Polycarbonate/Glass Roof. We recommend stapling at 300mm intervals and using our Heavy Duty Staple Gun and 14mm Staples.
-
Taping and Sealing Insulation
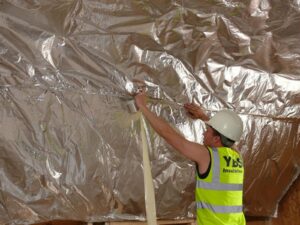
Tape and seal all overlaps, cuttings and the perimeter with our ThermaSeal Foil Joining Tape (75mm x 50m roll). We recommend going overkill with the Foil Tape as this will allow the insulation to act as a high performing vapour control layer.
-
Installing Counter Battens
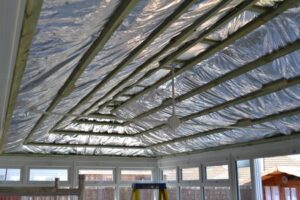
Install 25mm counter battens beneath the insulation, screwing into the first set of battens. Most commonly these battens are installed horizintally. We also recommend nstalling battens around the perimeter too which the internal boarding will be fixed to.
-
Install Internal Finish

To complete the installation you can now fit either a plasterboard or more commonly a uPVC Cladding. This can be screwed directly to the underside of the counter battens. If installing Plasterboard we recommend not to use a foil backed board and also to use a 9mm rather than 12.5mm board, as this will help keep the weight to a minimum.
Is there any preparation required, prior to installing this?
The area should be completely free from particles of dirt. Failure to remove dirt will cause it to trap behind the film. Although we appreciate airborne dust may get beneath, this will be minimal and will not impact the performance – but do ensure you remove any visible dirt / dust prior to starting. You can use 1 tablespoon of washing up liquid to every 1 pint of cold water to wash the glass, then squeegee dry.
How do I apply the Film?
Cut the film to size (but make it a little wider and longer) using the knife provided in the kit / scissors. You should spray the window and the adhesive surface generously and place the film on the wet glass. The adhesive side should be in contact with the class. It is essential that you keep the film taut and straight, you want the film to be straight and not to wrinkle as its very difficult to flatten it once applied.
Is there a trick to using the squeegee to secure the film?
Spray the film with your solution, do your first stroke horizontally across the window. The next stroke should be downwards, further strokes should go downwards working away from the first.
At what point should I trim the film down, given we are advised to make it a little bigger pre applying?
After you have sqeegeed the film, you should then use the knife provided. Trim the excess away and then squeegee again, applying firm pressure. At this point you can also focus on firmly pushing down all of the edges too.
What do you do if you accidentally trap a particle behind?
Life the film carefully from the corner and remove it before replacing the film. Ensure when replacing that you use sufficient solution before replacing the film.
When should I apply my Tint Kit?
We do not recommend installing the Tint Kit on a day when the temperatures are below freezing, or when there is direct sunlight shining in.
| Width | 760mm |
| Length | 30m |
Key Features
- Perfect When Installing Multifoil Insulation Materials
- Colour: White Frost
- Reflects 30% Of Solar Glare
- Gives An Aesthetically Pleasing Finish
- Doesnt Fade After Time
- Applied Internally
- Prevents UV Light
- Free Next Day Delivery
Downloads & Resources
picture_as_pdf Data Sheets

Reviews
There are no reviews yet